Introduction
Peaches are a stone fruit that belongs to the rose family. The peach tree is native to China and has been cultivated for over 4,000 years. Peaches were introduced to the Western Hemisphere by Spanish explorers in the 16th century and quickly became a popular food item.
There are two types of peaches: freestone and clingstone. Freestone peaches have a pit that can be easily removed from the fruit, while clingstone peaches have a pit that is still attached to the fruit. Canning is the process of preserving food in jars or cans. Peaches can be canned using either a hot water bath method or a pressure canner method.
What are the Best Peaches for Canning?
If you’re looking for the best peaches for canning, you’ve come to the right place. Canning peaches is a great way to preserve their freshness and flavor, and with the right recipe, you can enjoy them all year long.
There are a few things to keep in mind when choosing the best peaches for canning. First, you’ll want to choose ripe peaches that are soft but not too soft. If the peaches are too ripe, they may fall apart during the canning process. Second, you’ll want to avoid bruised or blemished fruit. These imperfections can cause the peaches to spoil during canning.
With those guidelines in mind, here are a few of our favorite peaches for canning:
1. Red Haven Peaches – These classic peaches are perfect for canning. They’re firm but not too firm, and their delicate flavor is a perfect addition to any recipe.
2. White Peaches – White peaches are a bit sweeter than their yellow counterparts, and they make a delicious addition to any canned peach recipe.
3. Donut Peaches – Donut peaches are small and round, with a flattened shape that makes them look like miniature donuts. They’re especially good for canning because their small size makes them easy to pack into jars.
4. Flat Peaches – Flat peaches are, as their name suggests, flatter than traditional peaches. They have a deep, rich flavor that makes them perfect for canning.
5. Freestone Peaches – Freestone peaches are named for their easy-to-remove pit. This makes them ideal for canning, as you won’t have to worry about the pit getting in the way.
No matter which type of peach you choose, you’re sure to end up with delicious canned peaches that will last for months. So what are you waiting for? Get canning!
Do Peaches Need To Be Pressure Canned?
Canning is a great way to preserve fruits and vegetables. Peaches are no exception. In fact, peaches are one of the most popular fruits to can. But do peaches need to be pressure canned?
The short answer is no. Peaches can be safely canned using the water bath method. Water bath canning is a simpler canning method that doesn’t require a pressure canner.
That said, there are some benefits to pressure canning peaches. Pressure canning allows you to pack more peaches into each jar. This is because the pressure forces the fruits and vegetables to collapse, creating more space in the jar.
Pressure canning also preserves the flavor and nutrients of the peaches better than water bath canning. So, if you’re looking for the best-tasting and most nutritious canned peaches, pressure canning is the way to go.
If you do choose to pressure can your peaches, make sure to follow the directions in your pressure canner’s instruction manual. Pressure canning is safe, but only if you follow the directions carefully.
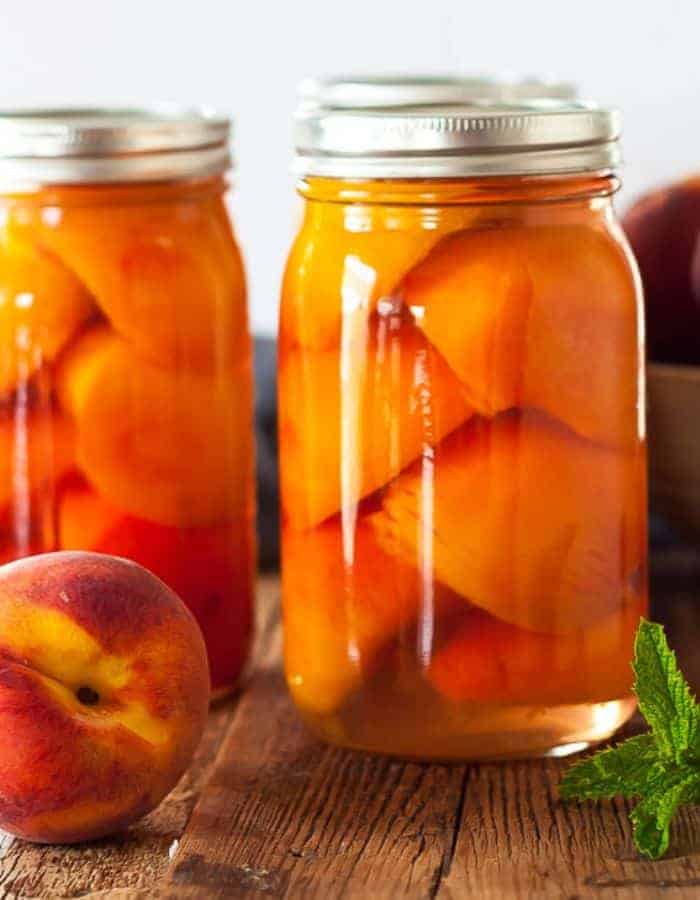
Canning Peaches in Light Syrup
Canning peaches in light syrup is a great way to preserve your peach harvest for the winter months. The process is not difficult, and the finished product is delicious. The first step is to select ripely, but not overripe, peaches. You will need about 2 1/2 pounds of peaches for every quart jar you plan to fill.
Next, make a light syrup by boiling sugar and water in a ratio of 2:1. For every 2 cups of sugar, you will need 1 cup of water.
Once the syrup has come to a boil, reduce the heat and add the peaches. Simmer for 5 minutes, then remove from the heat.
Using a slotted spoon, carefully transfer the peaches to sterilized jars. Fill the jars to within 1/2 inch of the top with syrup, then seal them with canning lids.
Process the jars in a boiling water bath for 20 minutes. Remove from the water and allow to cool. Store in a cool, dark place for up to one year.
Enjoy your homemade peaches all winter long!
Is it possible to can peaches without sugar?
Peaches are a delicious and healthy fruit, but they can be quite tricky to can without sugar. The sugar helps to preserve the fruit and prevents it from going bad, but it can also make the final product very sweet. There are a few ways to can peaches without sugar, and each has its own set of pros and cons.
The first method is to use a sugar-free canning recipe. These recipes typically use less sugar, or no sugar at all, and can be found online or in canning cookbooks. The downside to this method is that the peaches may not taste as sweet, and they may not keep as well.
The second method is to water bath can the peaches. This method involves boiling the peaches in water for a few minutes before canning them. The boiling process will help to remove some of the sugar from the fruit. The downside to this method is that it can make the peaches mushy.
The third method is to simply can the peaches in their own juices. This method doesn’t require any sugar, and the peaches will retain their natural sweetness. The downside is that this method can take longer, and the peaches may not keep as well.
No matter which method you choose, be sure to follow the directions carefully. Canning peaches without sugar can be a bit tricky, but it is possible. With a little bit of patience and trial and error, you should be able to can peach without sugar and enjoy their delicious flavor all year long.
Can I make canned peach slices?
If you’re anything like me, you love peaches. They’re juicy, sweet, and perfect for summer. But canning them yourself can be a bit of a pain. If you’re up for the challenge, though, it’s definitely doable! The first thing you’ll need to do is gather your supplies. You’ll need a canning pot, canning jars, lids, and rings. You’ll also need a large pot for boiling the peaches. Make sure you have everything you need before you get started!
Next, you’ll need to wash your peaches. I like to use gentle dish soap to make sure all the dirt and grime come off. Once they’re clean, you can slice them into thin slices. If you’re using fresh peaches, you’ll need to blanch them first. This just means boiling them for a minute or two to kill any bacteria.
Once your peaches are sliced and blanched (if necessary), it’s time to start canning! Fill your canning pot with water and bring it to a boil. Then, carefully lower your jars into the water. Make sure they’re covered by at least an inch of water. Boil the jars for 10 minutes to sterilize them.
While the jars are boiling, prepare your peaches. I like to add a little sugar and cinnamon to mine. You can add whatever you like, though! Once the peaches are ready, carefully remove the jars from the boiling water. Fill them with the peaches, leaving about an inch of headspace.
Now, it’s time to seal the jars. Wipe the rims of the jars with a clean, damp cloth. Then, place the lids on the jars and screw on the rings. Make sure they’re tight!
Finally, it’s time to process the jars. This just means boiling them again, but this time with the lids on. Boil the jars for 20 minutes, then turn off the heat and let them sit in the hot water for 5 minutes. Carefully remove the jars from the water and let them cool on a towel.
And that’s it! You’ve successfully canned your own peach slices! Enjoy them all summer long!
What You’ll Need
- Canning jars and lids
- A big pot or canning kettle
- A jar lifter
- A canning funnel
- A headspace tool or wooden chopstick
- Peaches!
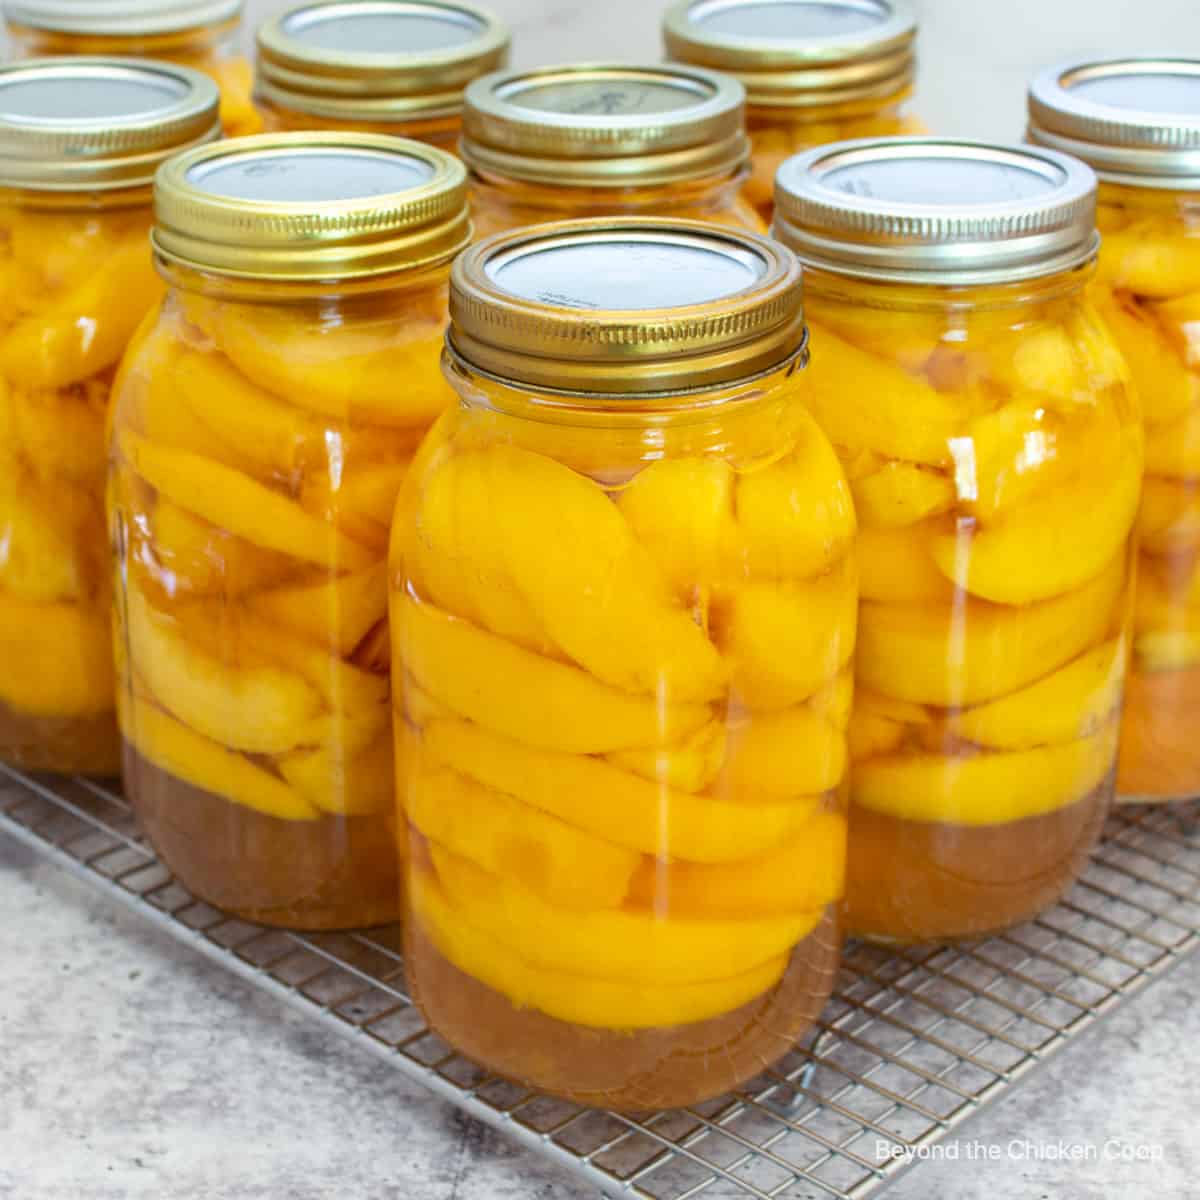
The Canning Process
Canning is a great way to preserve fresh peaches so you can enjoy them all year long. Follow these simple steps and you’ll be canning like a pro in no time!
- Sterilize your jars and lids. Boil them for 10 minutes to kill any bacteria that may be present.
- Prepare your peaches by washing them and removing the pits.
- Fill your jars with peaches, leaving about 1 inch of headspace at the top.
- Pour boiling water over the peaches, filling the jar to within 1 inch of the top.
- Run a spatula around the inside of the jar to release any air bubbles that may be present.
- Wipe the rim of the jar with a clean, damp cloth to remove any food residue that may be present.
- Place the lid on the jar and screw on the ring finger tight. Do not over-tighten!
- Place the jars in a canning pot or large stockpot and add water so that it covers the jars by at least 2 inches. Bring the water to a boil and let it boil for 10 minutes to process the jars.
- Carefully remove the jars from the pot and let them cool on a counter or wire rack for 24 hours before storing them in a cool, dark place for up to 1 year
Canning Tips
Here are some tips to help you get started canning peaches:
- Choose ripened, but firm peaches that are free of blemishes.
- Wash the peaches in cool water and remove the stem.
- Use a sharp knife to cut the peach in half and then remove the pit.
- You can leave the skin on or remove it, depending on your preference. If you plan to remove the skin, blanch the peach halves in boiling water for 30 seconds and then place them in cold water. The skin should peel off easily.
- Slice the peach halves into thin pieces or leave them whole.
- Choose a sugar-based syrup or sugar-free recipe for canning. Sugar-based syrups will help to preserve the color and flavor of the peaches.
- Follow the recipe carefully and sterilize all of your canning equipment before getting started.
- Fill each jar with peach slices, leaving about 1/2 inch of headspace at the top of the jar.
- Use a plastic or wooden utensil to remove any air bubbles from the jar before sealing.
- Wipe the rim of each jar with a clean, damp cloth and then place a lid on top. Screw on a ring until it is tight but not overly tight.
- Process jars in a boiling water bath for 20 minutes (if using pint jars) or 25 minutes (if using quart jars).
- Remove jars from the boiling water bath and allow them to cool undisturbed for 12 hours before checking the seals

FAQs
Q: Why should I process my peaches in boiling water?
A: The heat of boiling water destroys molds, yeasts, and enzymes that cause fruit to soften and decay. Peaches are low-acid fruit and require a high temperature of boiling water to be safe from the growth of these microorganisms.
Q: How long do I process my peaches in boiling water?
A: For both halves and slices, a process in boiling water for 25 minutes. Start timing the process when the water returns to a boil after all jars have been added.
Q: Do I need to use a pressure canner for canning peaches?
A: No, you can use either a boiling water canner or a pressure canner for canning peaches. Because of their low acidity, peaches must be processed in a canner to assure their safety.
Q: If I’m using a pressure canner, at what pressure do I process my peaches?
A: For pint jars, process at 10 pounds pressure; for quart jars, process at 15 pounds pressure. If you live at an altitude above 1,000 feet above sea level, consult your local Cooperative Extension Service office for recommended changes in processing pressures.