There are several materials needed to make your bracelet. These include leather, paper, metal clasps, and of course, paracord!
Leather is probably one of the most common components in making a paracord bracelet. You can either use pre-made leather pieces or create your own with different thicknesses and textures.
Paper is another integral part of this project. You will need enough paper to cover both ends of your bracelet as well as an additional couple of inches at each clasp area.
Metal clasps are used to close the bracelet up.
Instructions
Make your own beautiful jewelry, there are many ways to go about it! Creating your own jewelry is an excellent way to learn new skills and/or refresh old ones. Plus, most of the materials needed can be sourced easily from anywhere so there is never a need to run out of place settings!
Most people begin by melting down or cutting down other bracelets to use their supplies as material. Melting down pieces means taking them apart and using a strong heat source like a burner or a torch to melt away parts of the metal until nothing but thin wires remain.
Once the metals are completely melted down, they can then be re-melted into another shape or formed into thinner sheets to make longer lengths of wire. After that, these newly made wires can be attached together to form something shiny and pretty!
There are several different styles of jewelry making you can try including cast-on, knot bands, spiral wraps, and more. Each one requires different-sized flat surfaces to create loops or knots for the band to wrap around, which gives it its style!
Some even mix and match various designs to make hybrid jewelry that has both classic braided necklaces as well as mixed components! It is really up to you how you want to design yours!”
This article will talk about some easy ways to make a simple pendant necklace with a steel biner as the clasp.
You need a paracord bracelet
Parachute cord is an excellent choice for making almost any kind of bracelet. It’s very versatile as you can easily cut it to create different shapes and patterns.
You don’t have to use the whole length, either! A few feet will get you many practical things like tucking some ends into your pocket or wrapping around your wrist twice for extra strength.
And since this article is about how to make basic paracord survival bracelets, we’ll talk about our easy way to start with that here.
A knife (or other sharp objects)
To make your own paracord bracelet, you need to start with a length of strong cord that is long enough to fit around your wrist several times.
- You can use any kind of cord you like- nylon, leather, silk, or even heavy-duty coat material.
- The hard part is actually cutting the cord into smaller pieces!
- To save time, we will assume that you have already cut up the end of the cord into small strips. Now it’s time to prepare for the middle section.
- A very smooth edge should be given to the piece being sliced off. You want to make sure there are no bumps or things that could get caught in the next step.
Once this is done, pull the blade through the center of the cord slowly and consistently. If you try to push too fast, then the cord may break at that spot later on when it’s tied onto another section.
This process needs to be repeated until only short sections of the cord remain. At this stage, these shorter sections can be knotted together to form the circle shape that defines the finished product.
And some patience!
When making a new jewelry piece, there’s usually something that gets done first. You start by adding one component to the necklace or bracelet, then onto the next, and so on until it is complete. In this case, that something is linking the individual strands of the paracord into a continuous loop.
The hardest part about making these bracelets is actually linking all of the different lengths of cord together. There are many ways to link them up, but none have been standardized. Different people seem to get their way of linking them best, which can be tricky to match with another person’s design.
Luckily for you, we have compiled a list of easy steps on how to make your own paracord necklaces and wristbands! This article will go over everything from linking short pieces of nylon rope to creating an adjustable cinch-style band.
How to make a paracord survival bracelet – step by step
Making a paracord survival bracelet is one of the most useful DIY projects you can do for yourself or as a gift for someone else. Not only does it look attractive, but it’s also incredibly useful and can even save your life in emergency situations. With just a few simple supplies, you can quickly and easily make your own survival paracord bracelets. In this article, we’ll walk you through the steps and show you how to make a step-by-step.
Step 1: Gather your supplies
The supplies you’ll need to make are a paracord, scissors, a lighter or candle, a ruler, and a buckle. Paracord is a strong, lightweight rope made of nylon that can be used in a variety of ways, including making paracord bracelets. You can find paracord in many craft and hobby stores.
Step 2: Measure and cut the paracord
Measure and cut the paracord according to the desired length of the bracelet. The length of the paracord you’ll need will depend on the size of the bracelet and the size of the buckle you’re using. Generally, you’ll need around 5 feet (1.5 meters) of paracord for a regular-sized bracelet. When cutting, make sure to allow for extra paracord for tying the ends of the bracelet.
Step 3: Burn the ends of the paracord
Once you’ve cut the paracord, you’ll need to burn the ends to keep them from fraying. To do this, simply hold the ends of the paracord over a lighter or candle flame for a few seconds. This will help seal the ends and stop them from fraying.
Step 4: Tie a knot
Begin by tying a basic knot at one end of the paracord. This will secure the paracord and allow you to start weaving the bracelet. To tie a basic knot, take one end of the paracord and make a loop. Take the other end and pass it through the loop and pull tight. The knot should be tight and secure.
Step 5: Begin weaving
Once you’ve tied the knot, begin weaving the paracord together. To do this, take the left side of the paracord and pass it under the right side of the paracord, then pull it over and through the loop on the left side. Keep weaving until you reach the end of the paracord. Make sure to keep the tension even and tight as you weave.
Step 6: Add the buckle
Once you’ve reached the end of the paracord, it’s time to add the buckle. To do this, tie a basic knot at the end of the paracord and then pass the buckle through the loop. Make sure the buckle is secure and won’t come undone.
Step 7: Finish off the bracelet
Once the buckle is in place, you’ll need to finish off the bracelet. To do this, take the remaining end of the paracord and pass it through the loop on the other end of the bracelet. Then tie a basic knot to secure it. Trim off any excess paracord and you’re finished!
Now you know how to make a paracord survival bracelet step by step. With just a few simple supplies, you can make your own survival bracelet that can help you stay safe in an emergency. So grab your supplies and start making your own survival bracelets today!
How to make DIY paracord bracelets
A parachute cord is great for making many different types of jewelry. You can mix and match color patterns, textures, and styles to create new necklaces, earrings, and other fashion accessories.
Most people start by picking either small or large diameter cords that they cut into shorter pieces. These are then connected together to form longer strands or chains!
The trick is knowing what type of knot to use when connecting two ends of the parachute cord. There are several easy ways to do this! Once you learn how to tie one properly, you will know how to attach almost every length of chain and necklace possible!
Types of knots
These are referred to as overhand knots because the end of each string crosses itself under an element called a loop. The most common ones include:
- Treachery (or figure-eight) knot — This looks like a very long circle with a tail coming off the middle. Because it has a part that goes around both loops, it’s considered a half-treacle knot.
- Closing (overhand) knot — Also known as a sailor’s knot, this takes 2 strings and joins them together at their ends. It resembles a big “0” shape.
- Granny ring (aka camel) knot — Similar to the closing knot, only 1 strand is involved instead of 2. This makes it slightly thinner than the sailor’s knot but just as strong.
Survival bracelets
Many people have their own special way to keep themselves prepared or know how to make their own personal protective equipment (PPE) such as a first aid kit, fire starter, or water purification tablets. One of the most common pieces of PPE is a survival belt which contains a large amount of multipurpose material that can be used for many things.
Many people begin by buying a long piece of leather or nylon webbing and then attaching various components to it. These components include small plastic zips, lockable buckles, and/or clasps. Once everything is attached properly, they add a strap to complete the survival belt!
You may have seen these types of belts in stores or online shopping sites before – they are usually marketed as a “survival bag” or “waterproof pack basket.” They are also sometimes referred to as a “daypack,” but we will not use those terms here because they imply size and what kind of bags they are designed to hold.
We will refer to this type of survival gear as a “parachute belt” or “paracord survival bracelet” due to its resemblance to a parachute. These types of belts are very popular since anyone can easily buy them at any store or website that offers them. There are even companies that produce them exclusively so there are never too many styles to choose from.
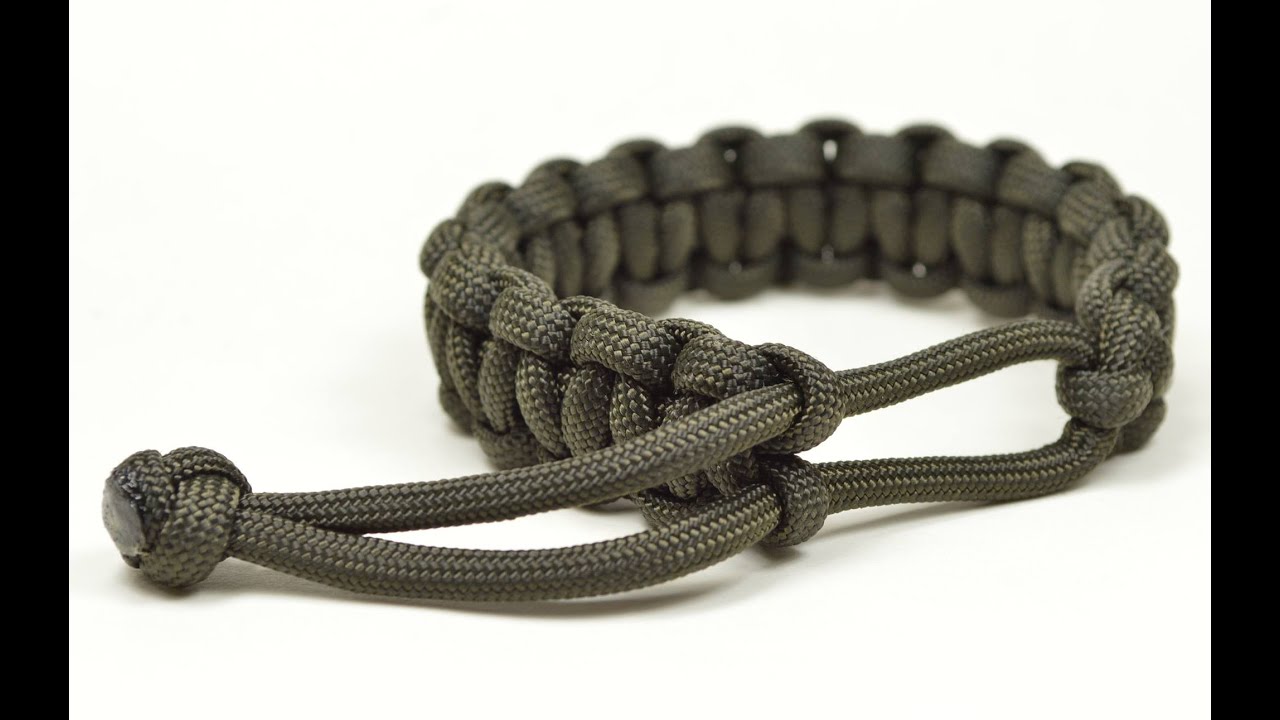
Paracord Bracelet With a Side Release Buckle
Paracord bracelets are the ultimate accessory for any adventurer, survivalist, or fashionista. Not only are they stylish, but they can be practical too. A paracord bracelet with a side-release buckle is a great option to have with you at all times.
The paracord bracelet with a side release buckle is made with high-quality nylon paracord that is both strong and lightweight. The side release buckle allows for quick and easy on and off which makes it a great choice for everyday wear. The buckle also allows for the bracelet to be adjusted to fit any wrist size.
The paracord bracelet with a side-release buckle can be used in a variety of ways outdoors. They can be used to secure items to a backpack, string up a makeshift shelter, or even tie down items for transport. It is also a great choice for those who want a stylish outdoor accessory that can be used for a variety of purposes.
In addition to its practical uses, the paracord bracelet with a side-release buckle is also perfect for accessorizing any outfit. It comes in a variety of colors so there is something to fit any style. From bright neon colors to classic black and brown, there is an option for everyone.
Whether you are an outdoor enthusiast, fashionista, or simply looking for a stylish accessory, the paracord bracelet with a side-release buckle is a great choice. It is made from high-quality materials, is adjustable to fit any wrist size, and comes in a variety of colors. So, the next time you need a practical, yet stylish accessory, make sure to check out the paracord bracelet with a side release buckle.